設定預設值
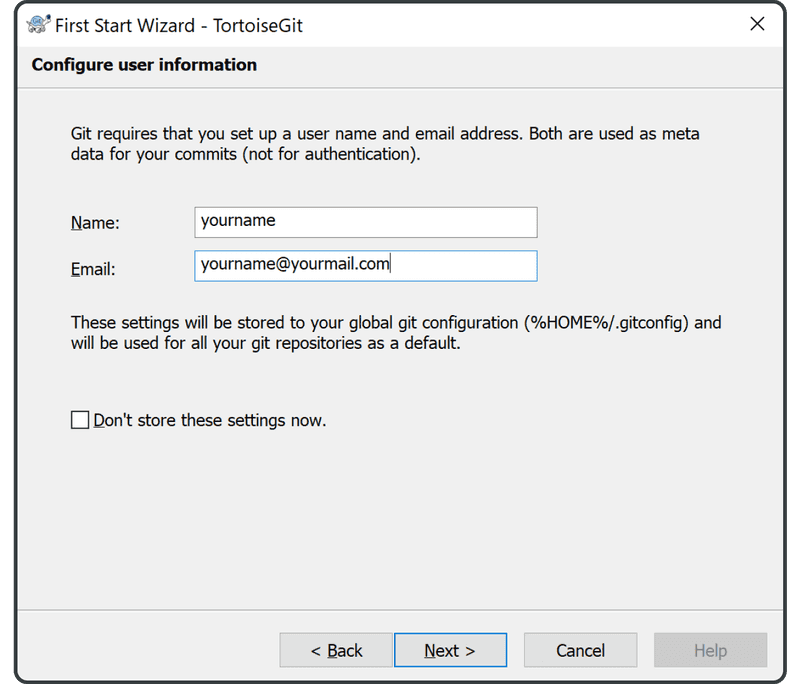
接下來,設定您的預設使用者名稱和電子郵件地址,以便 Git 可以識別提交更改的人。
此設定只需進行一次。
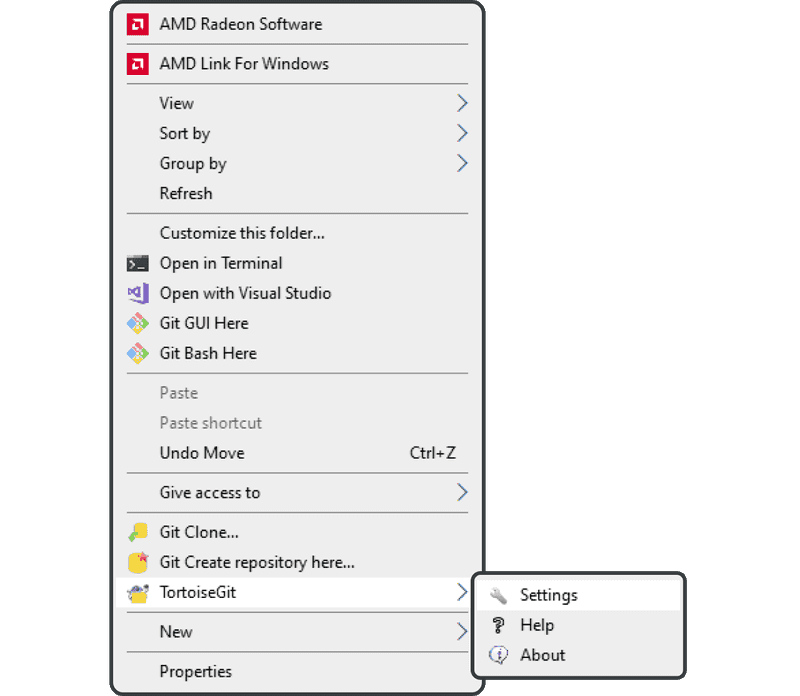
從右鍵單擊選單中,單擊「TortoiseGit」 > 「Settings」。
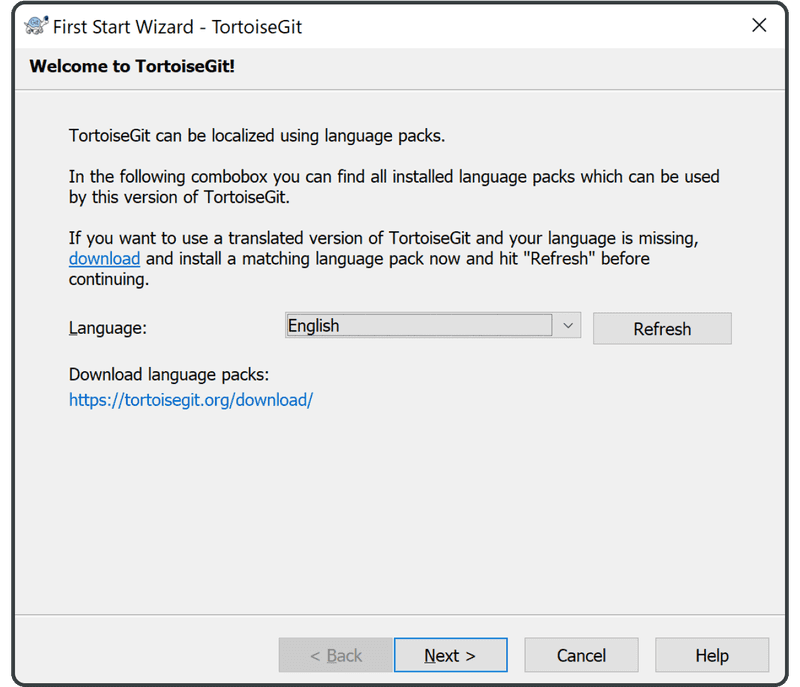
選擇您的語言並單擊「Next」。
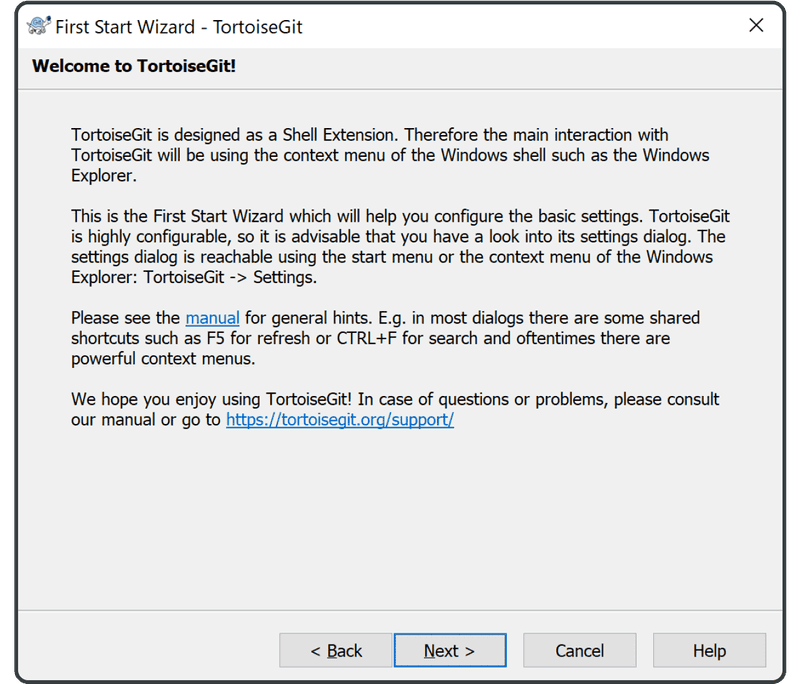
在下面螢幕上單擊「Next」。
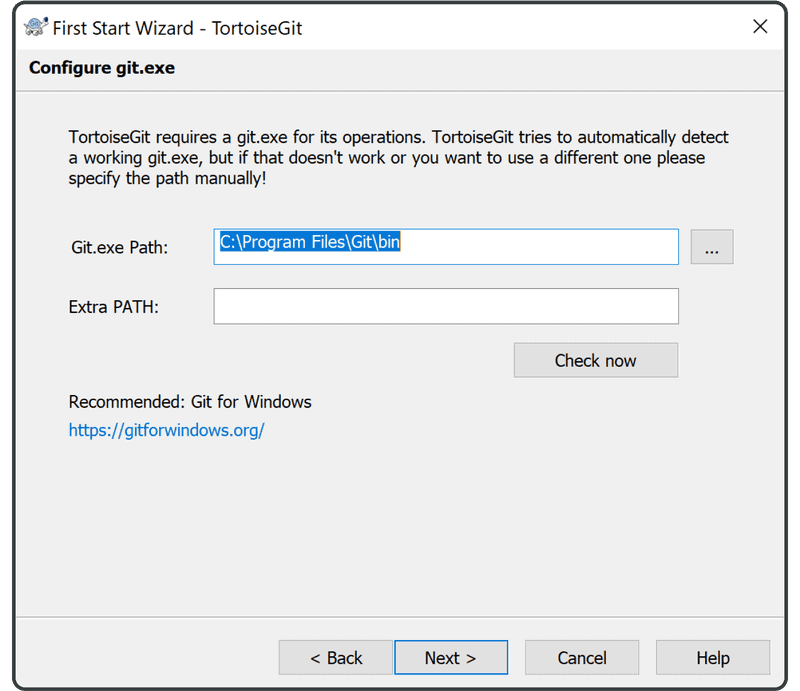
並再次單擊「Next」。
輸入您的姓名和電子郵件地址,然後單擊「Next」。
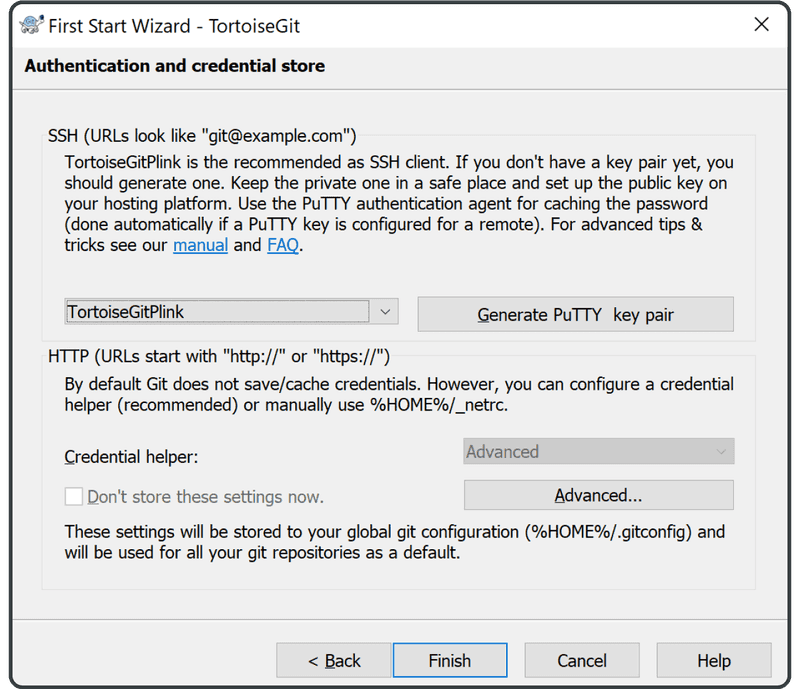
單擊「Finish」。
接下來,我們將更改預設分支名稱以使其更具包容性。
為此,右鍵單擊任意位置並選擇」TortoiseGit」,然後選擇「Settings」。
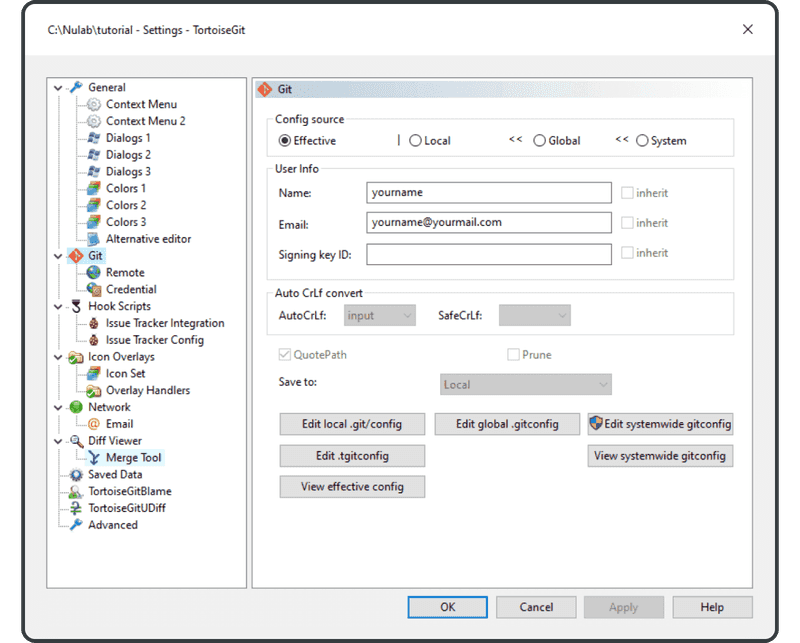
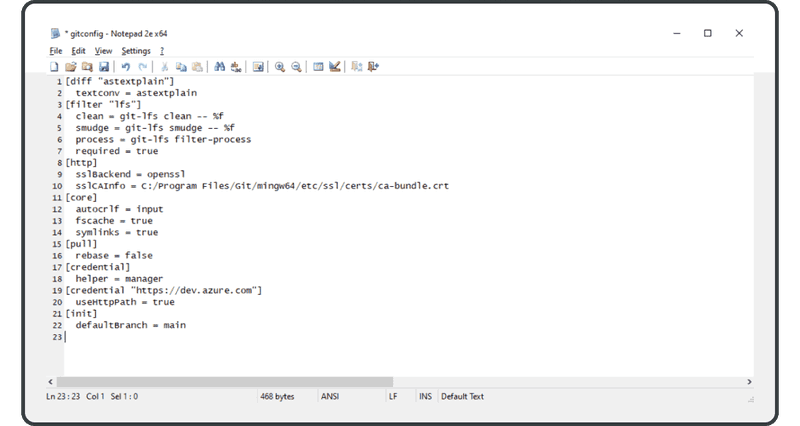
單擊標示有「Git」的條目,然後單擊「Edit systemwide gitconfig」。
(注意:如果您的裝置沒有適當的權限,您可能需要 IT 部門的協助。)
在開啟的文本編輯器中,找到「defaultBranch = master」這一行。
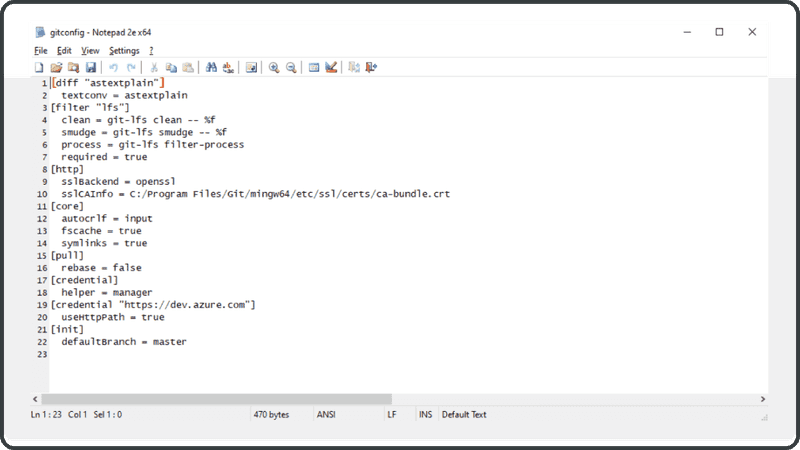
將其替換為「defaultBranch = main」(或您認為合適的其他名稱)。
設定完成!現在我們可以開始工作了。