建立遠端儲存庫
我們將在 Backlog 中建立一個遠端儲存庫,我們在本教程的開頭提到過版本控制軟體。
只有專案管理員可以在 Backlog 中建立新的 Git 儲存庫。如果您不是專案管理員,請讓您的專案管理員為您建立一個儲存庫。或者,您可以啟用自己的空間並在那裡建立儲存庫。 您可以立即開始免費試用 Backloga>!
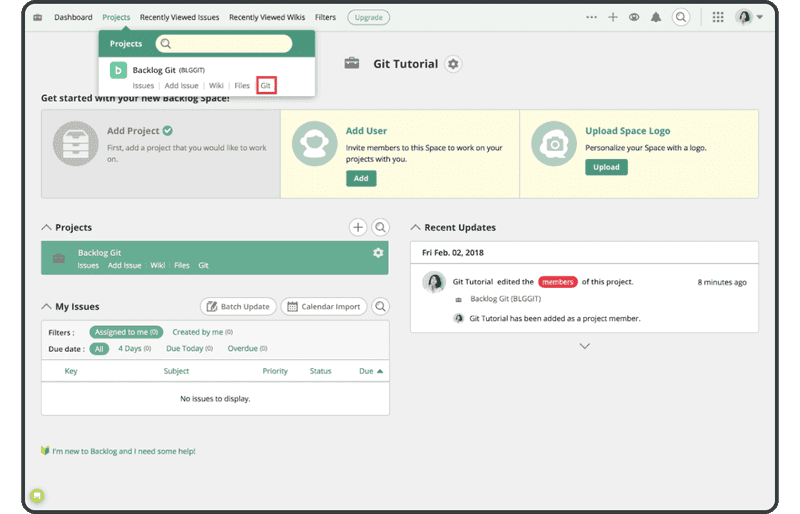
首先,登錄到 Backlog,然後從要在其中建立儲存庫的專案選單中單擊「Git」。如果您還�沒有專案,則需要先創建一個。
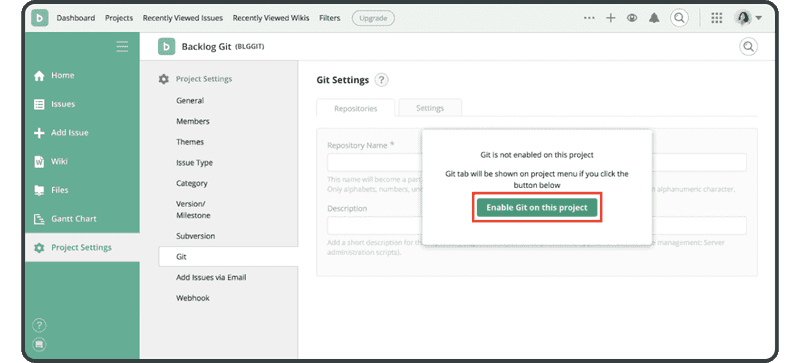
如果 Git 沒有如上所示顯示,您將必須啟用它,您可透過選擇專案,前往「Project Settings」 > 「General」,然後單擊標記為「enable Git」的勾選方塊。
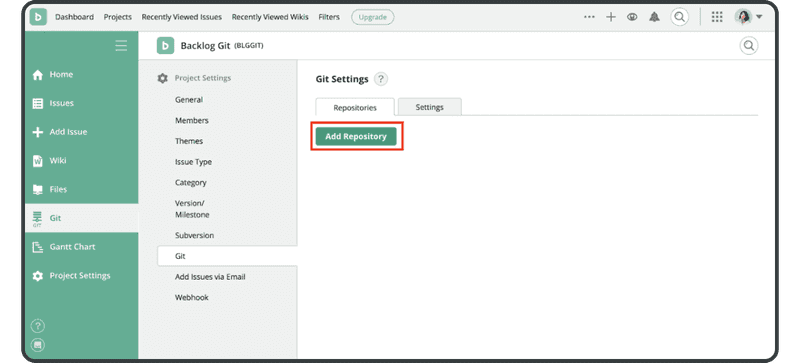
啟用 Git 後,在同一個 Git 螢幕上單擊「Add Repository」,以新增儲存庫。
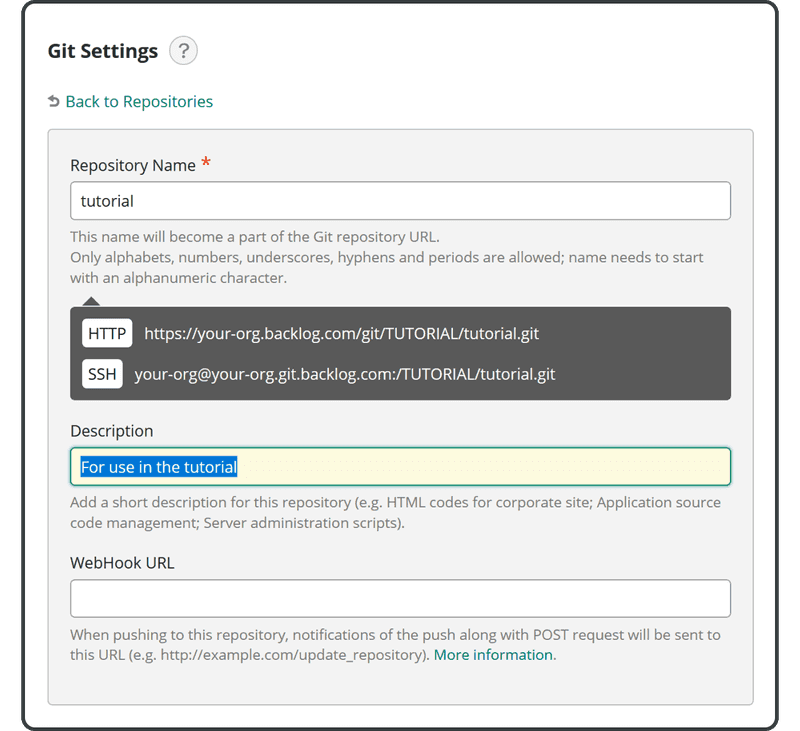
輸入以下名稱和說明,然後單擊「Create Repository」按鈕:
- 名稱:「tutorial」
- 說明:「For use in the tutorial」
成功新增新儲存庫後,您將看到下面的面板。
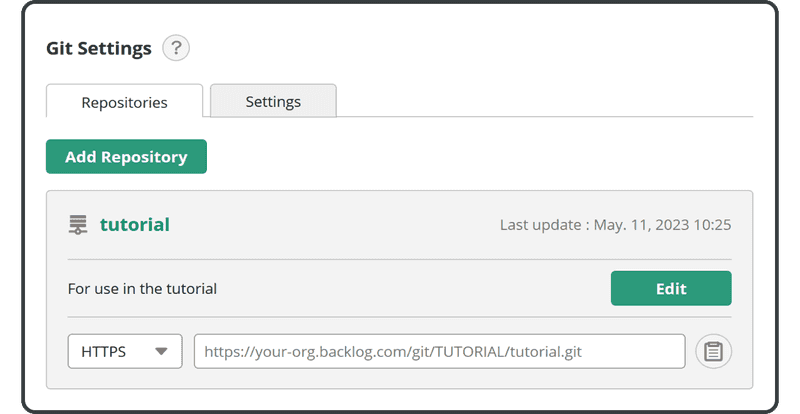
現在您可以開始將更改推送到此遠端儲存庫。