创建本地存储库
现在,让我们创建一个本地存储库并将其置于 Git 版本控制之下,以便我们可以在本教程的其余部分中使用它。
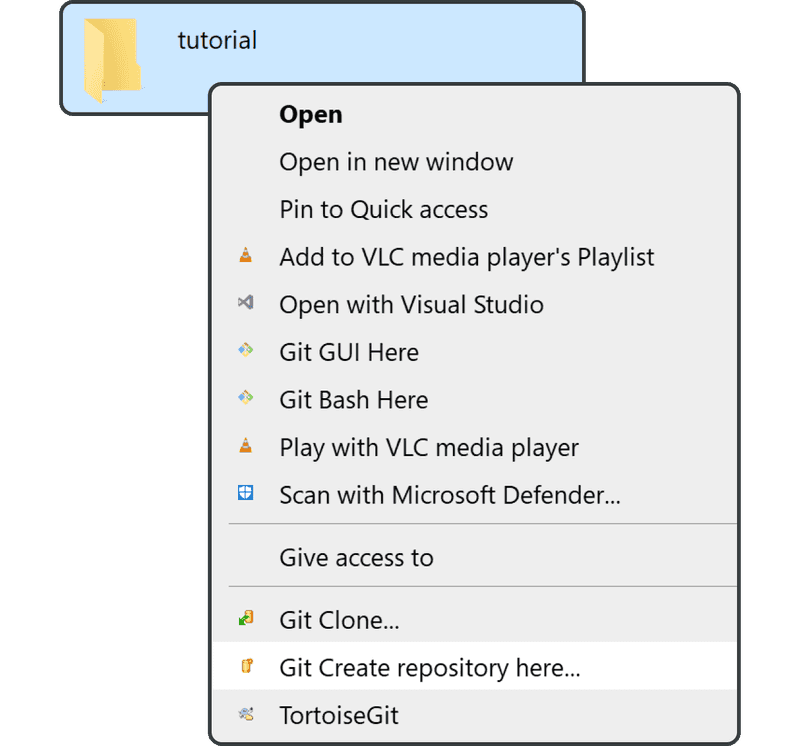
您可以在计算机上的任何位置创建这个新目录—只需将其命名为“tutorial”即可。
右键单击,并单击“Git Create repository here”以使 Git 可跟踪该目录。
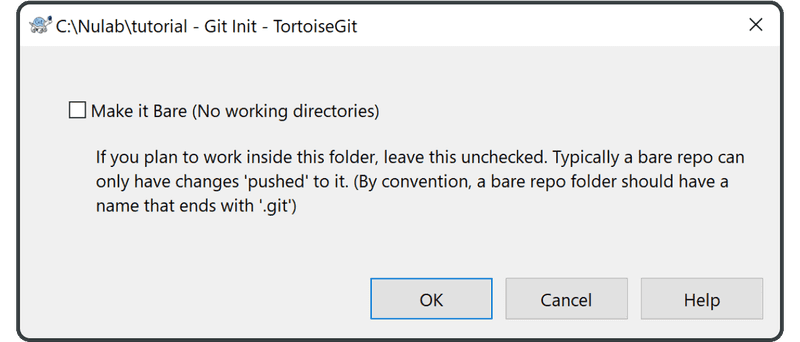
在下面的屏幕上,单击“OK”—不要选中“Make it Bare”。
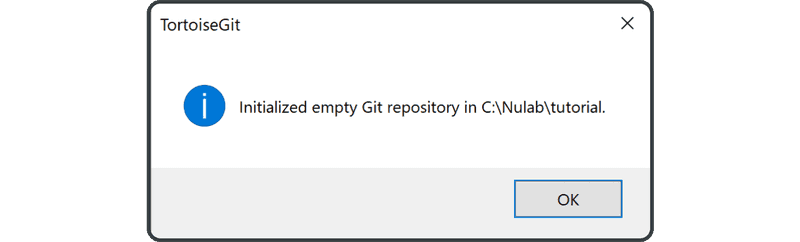
创建存储库后,单击“OK”关闭下面提示。
如果正确完成,“tutorial”目录将有一个新的图标,如下图所示。如果图标保持不变,请尝试右键单击该文件,并选择““Update to the latest status”。

现在您已准备好将文件提交到存储库。