创建本地存储库
现在,让我们创建一个本地存储库并将其置于 Git 版本控制之下,以便我们可以在本教程的其余部分中使用它。
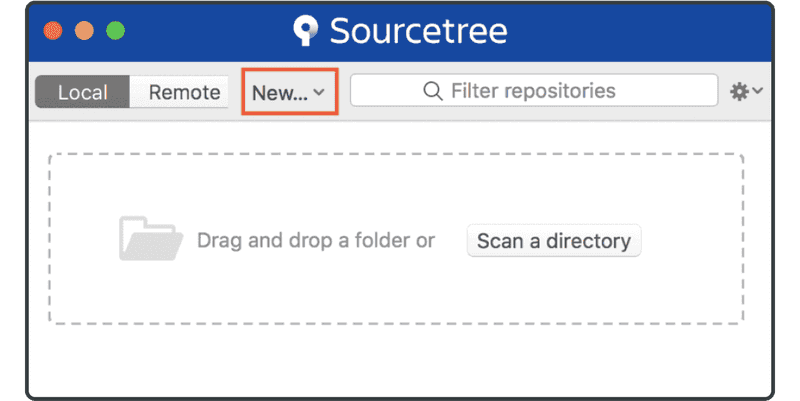
如果到目前为止您已经按照安装教程进行操作,请返回 Sourcetree 应用程序窗口,否则通过启动应用程序将其打开。然后点击书签列表窗口左上方的“New…”。或者,您可以从菜单栏中选择 File > New。
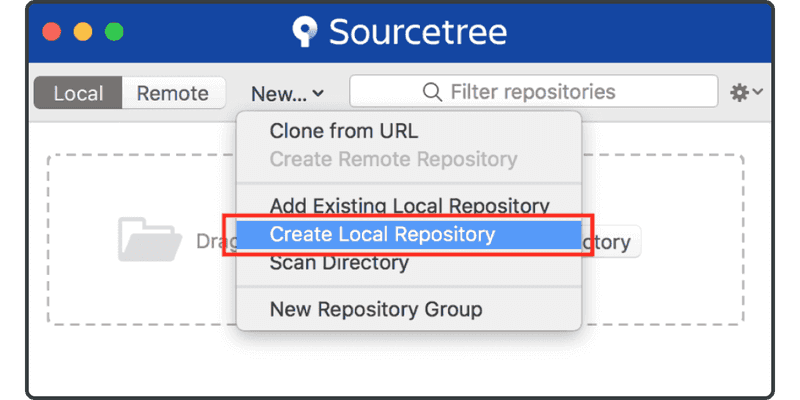
选择“Create Local Repository”。
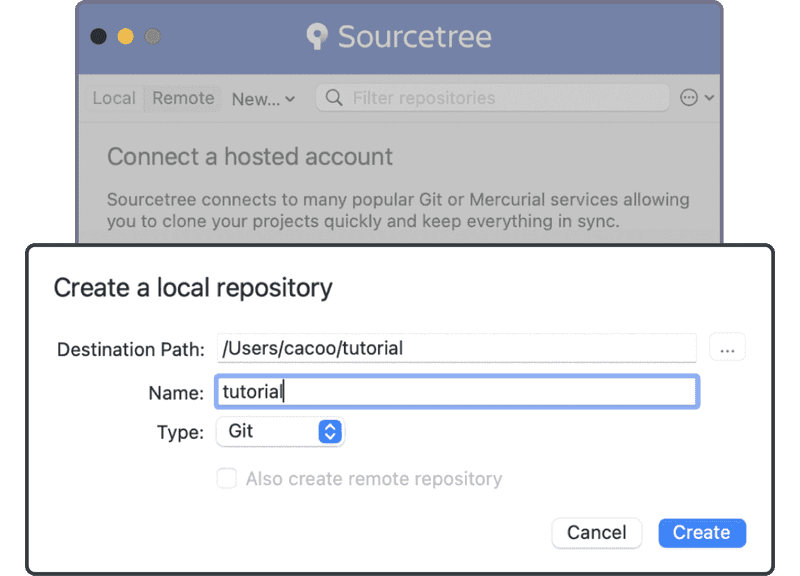
输入目标目录名称tutorial以创建本地存储库。如果该目录尚不存在,Sourcetree 将为您创建它。
确保存储库的路径是您想要的。Sourcetree 可能会选择您的家目录作为默认目录。注意不要在您的家目录中初始化 Git 存储库;否则,Sourcetree 完成指示之前可能需要一段时间,然后存储库将显示为不是空白。如果“Destination Path”字段设置为您的家目录,请确保在末尾附加/tutorial以指示 Sourcetree 在那里创建一个新的空目录。最后,单击“Create”按钮。
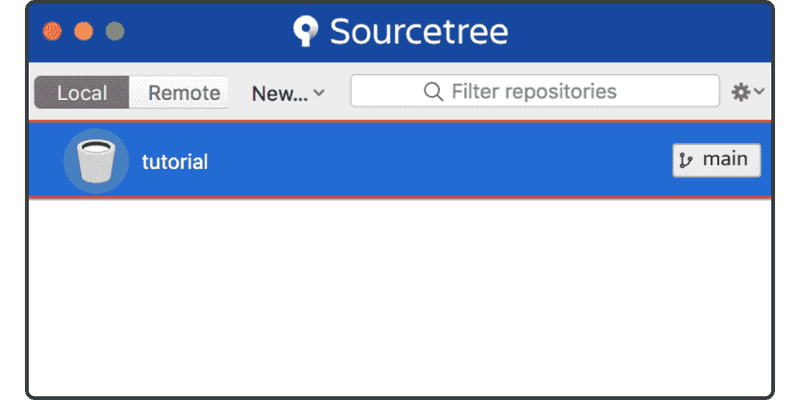
新存储库现在将位于书签列表中。
现在您已准备好将文件提交到存储库。