Đẩy đến một kho lưu trữ từ xa
Hãy đẩy tới kho lưu trữ cục bộ mà bạn đã tạo theo phần đầu của hướng dẫn này.
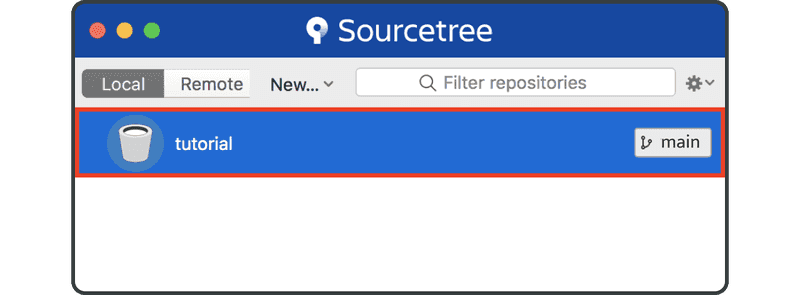
Mở Sourcetree và nhấp đúp vào kho lưu trữ “tutorial”.
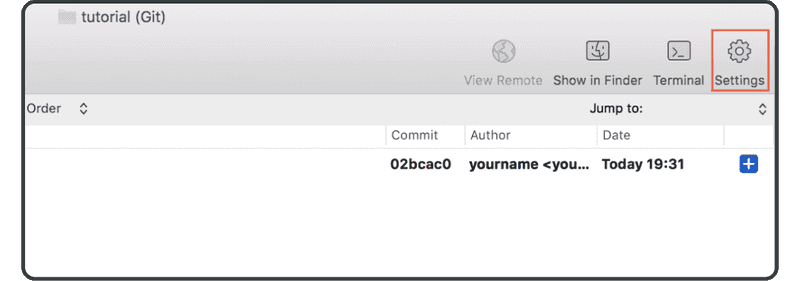
Nhấp vào nút “Settings” ở bên phải của thanh công cụ.
Nhấp vào “Add”.

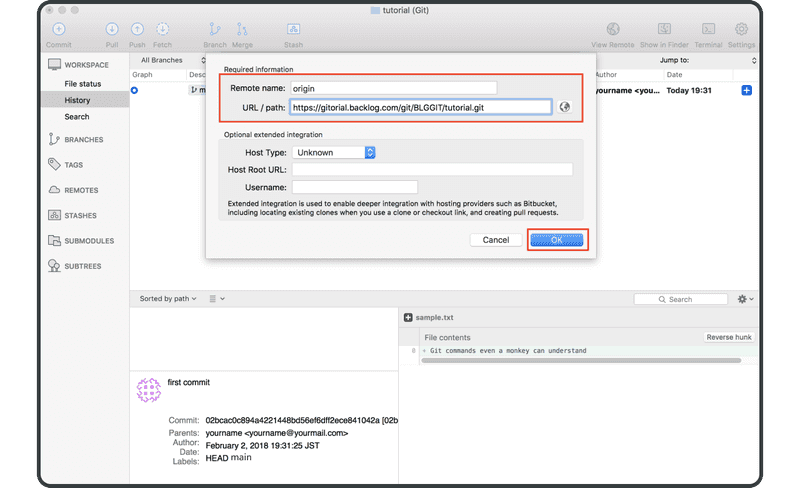
Nhập như sau:
- Tên kho lưu trữ từ xa:
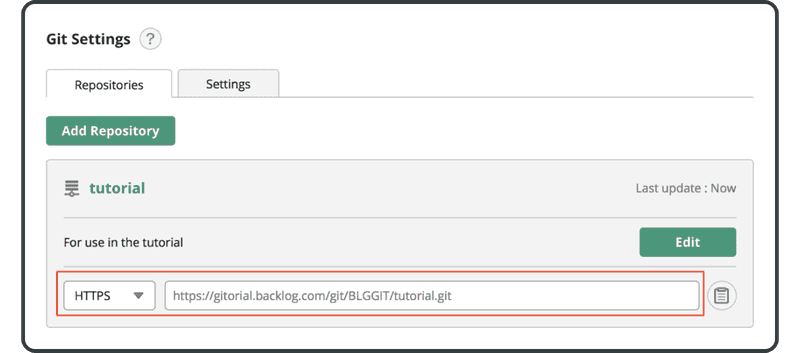
origin - URL/đường dẫn: URL của kho lưu trữ từ xa mà bạn đã tạo trước đó trong Backlog
Nhấp vào “OK”.
Kho lưu trữ từ xa “origin” bây giờ sẽ hiển thị trong danh sách “remotes” và chúng ta có thể bắt đầu đẩy các thay đổi vào Backlog.

Nếu bạn đang sử dụng Bảng điều khiển, kho lưu trữ từ xa “origin” sẽ được sử dụng theo mặc định nếu bạn bỏ qua tên kho lưu trữ từ xa khi đẩy/kéo. Đó là bởi vì quy ước thường sử dụng “origin” làm tên kho lưu trữ từ xa.
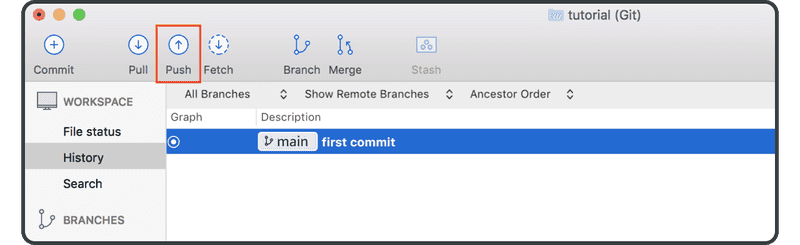
Bây giờ hãy nhấp vào biểu tượng “Push” trên thanh công cụ ở trên.
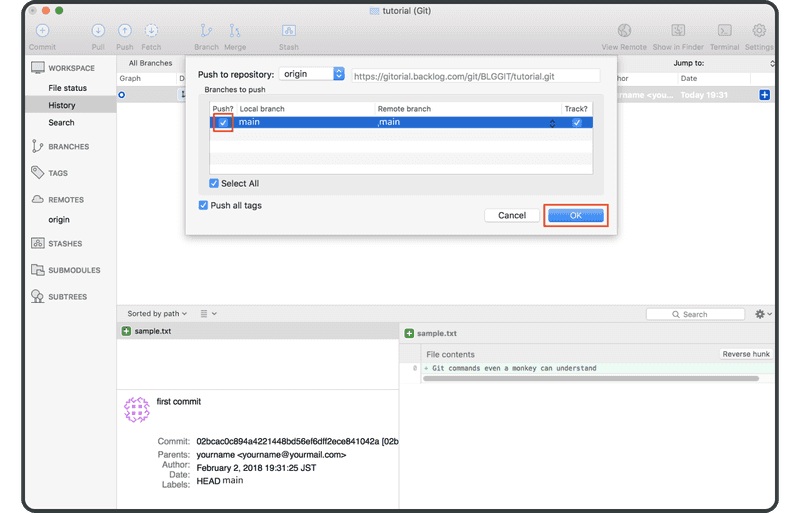
Chọn hộp kiểm “main” và nhấp vào “OK”.
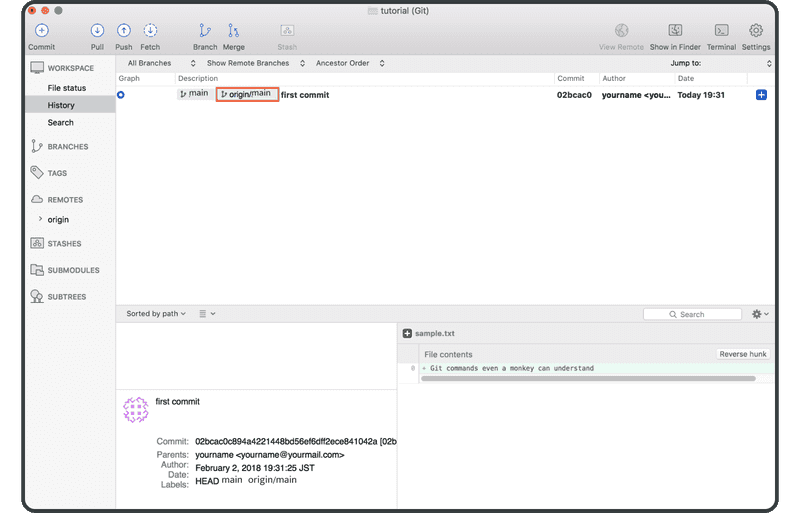
Khi bạn đã đẩy thành công, “origin/main” — đại diện cho cam kết trên kho lưu trữ từ xa — sẽ được hiển thị trong cột “description” của cam kết.
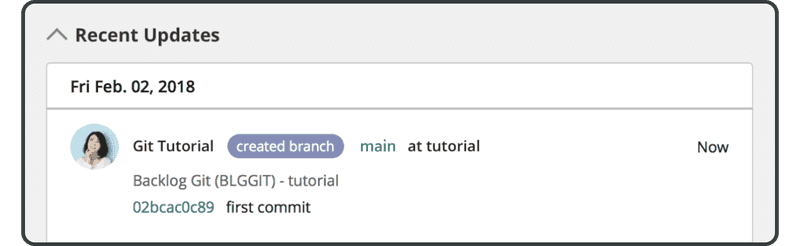
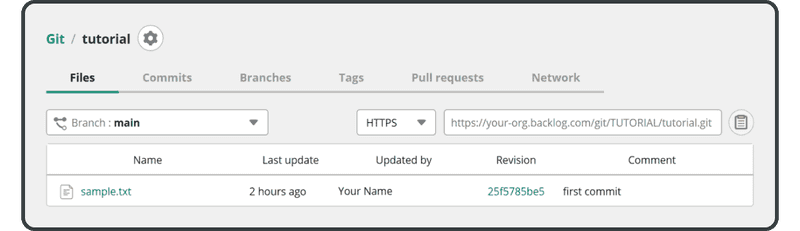
Mở trang Git trên Backlog và bạn sẽ tìm thấy bản cập nhật mới tương ứng với lần đẩy của bạn tới kho lưu trữ từ xa được liệt kê trong “Recent Updates”.
Tệp được đẩy cũng sẽ xuất hiện trong danh sách các tệp trong kho lưu trữ từ xa.
Tiếp theo, chúng ta sẽ sao chép kho lưu trữ từ xa này.