Push to a remote repository
Let’s push to the local repository you created at the beginning of this tutorial.
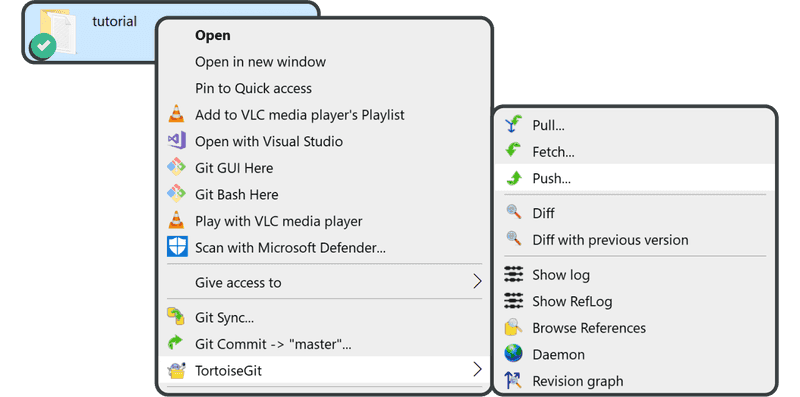
Right-click on the “tutorial” directory and click “Push.”
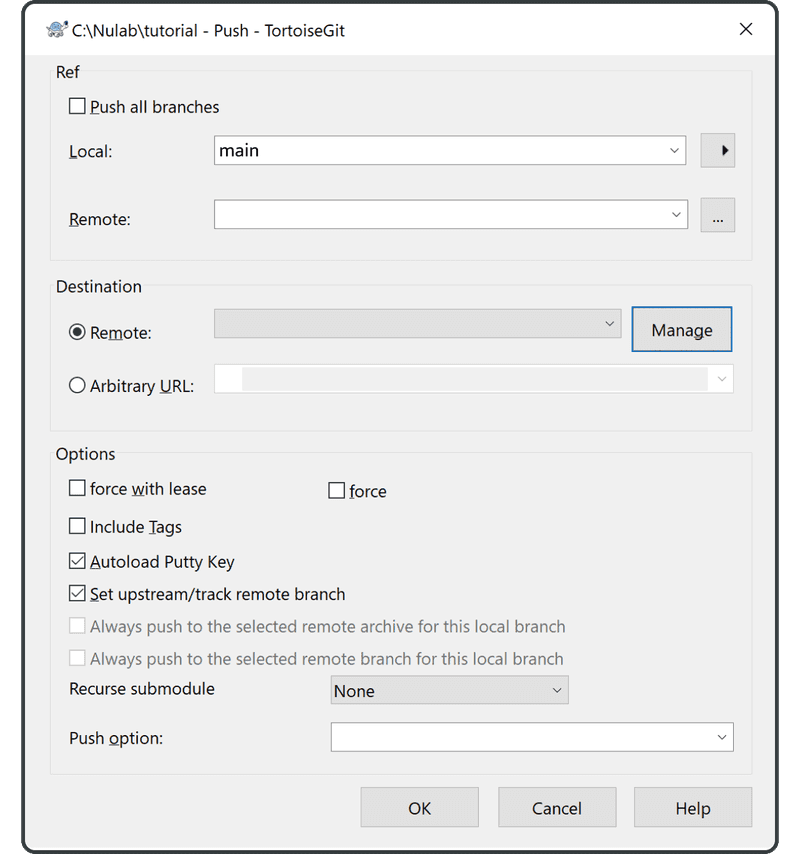
Click “Manage.”
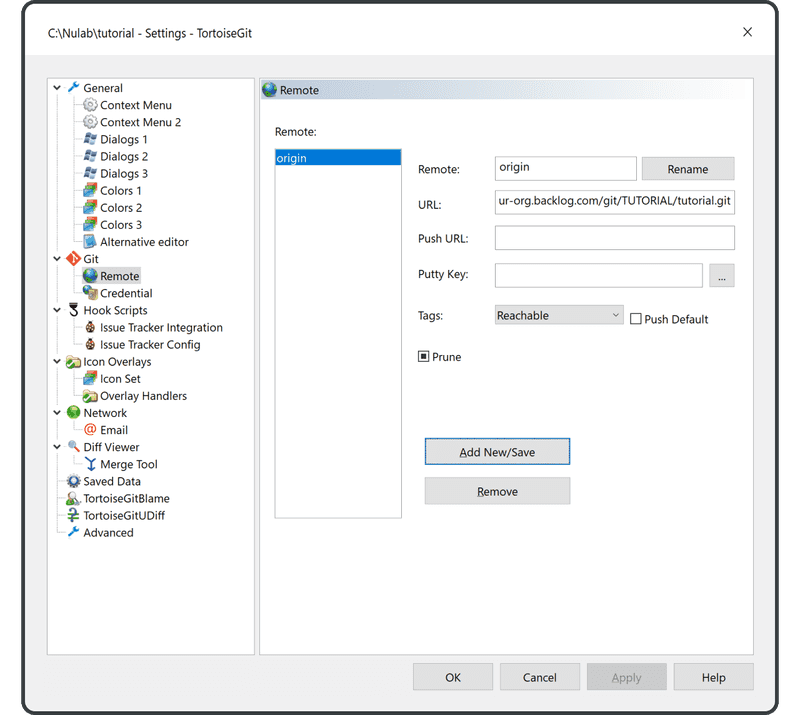
Enter the following:
- Remote: “origin”
- URL: the URL of the remote repository you previously created in Backlog
Click “Add New/Save,” and “origin” will now correspond to the remote repository URL.
Click “OK” to finish.
If you are on Console, the "origin" remote repository will be used by default if you omit the remote name when pushing/pulling. That is because convention commonly uses "origin" as a remote name.
Select “origin” as the Remote item on the Push screen, then click “OK.”
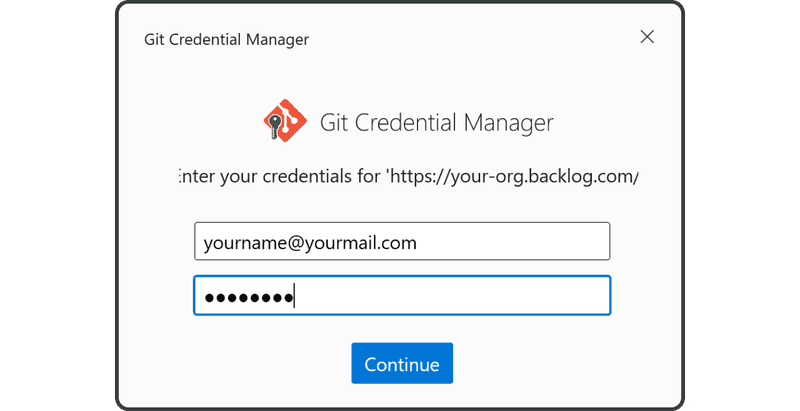
Enter your Backlog email and password. Then click “continue.”
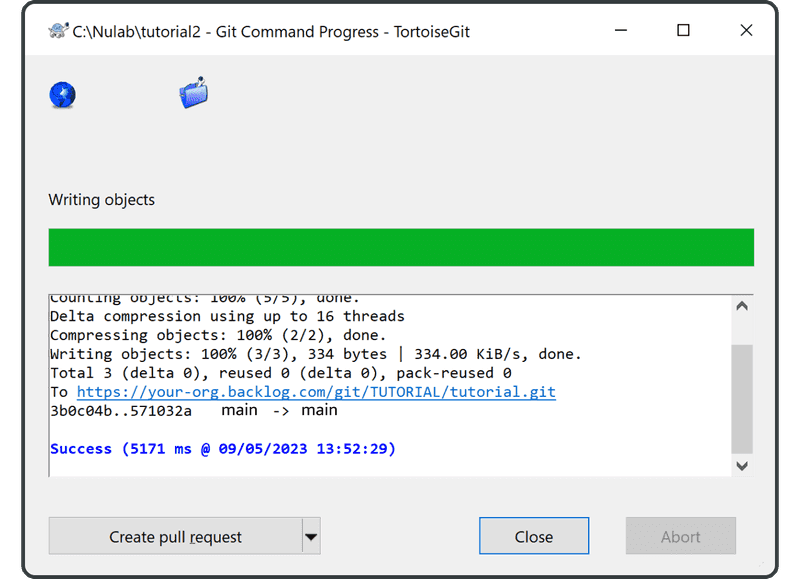
You will see the following screen when you have successfully completed the push.
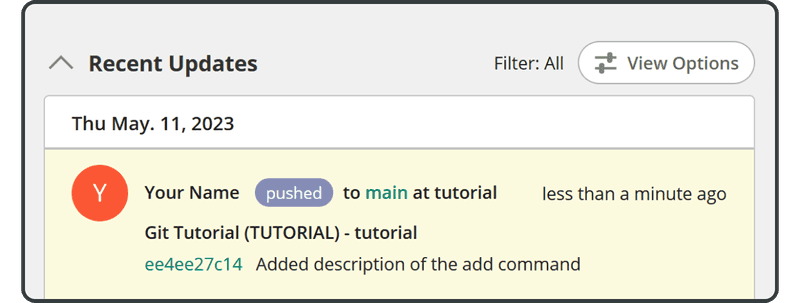
Open the Git page on Backlog, and you will find a new update corresponding to your push to the remote repository listed under “Recent Updates.”
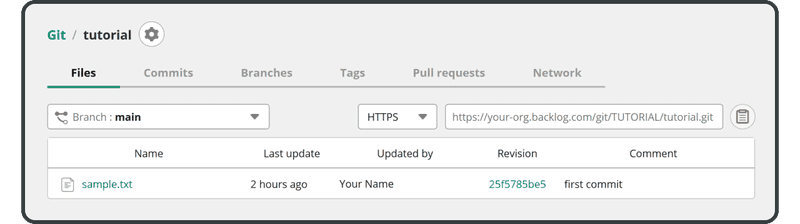
The pushed file will also appear in the list of files in the remote repository.
Next, we’ll clone this remote repository.