Push to a remote repository
Let’s push to the local repository you created at the beginning of this tutorial.
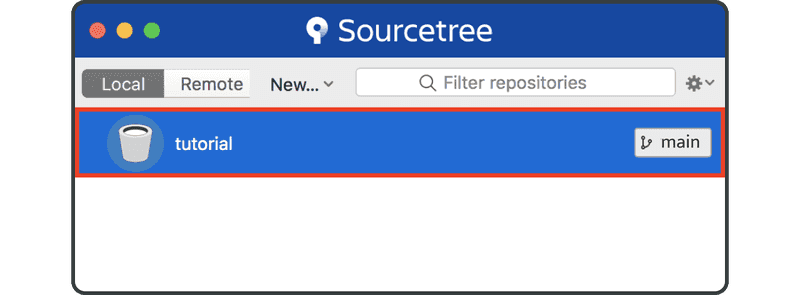
Open Sourcetree and double-click the “tutorial” repository.
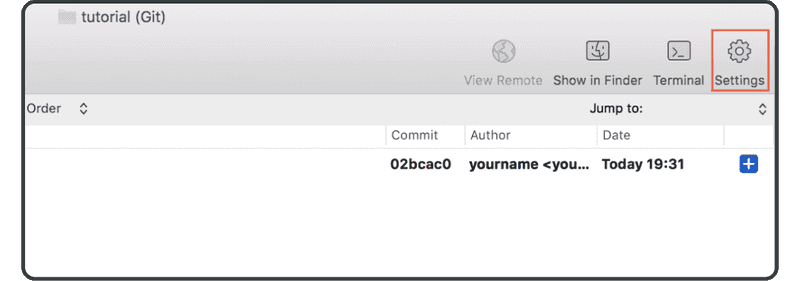
Click the “Settings” button on the right side of the toolbar.
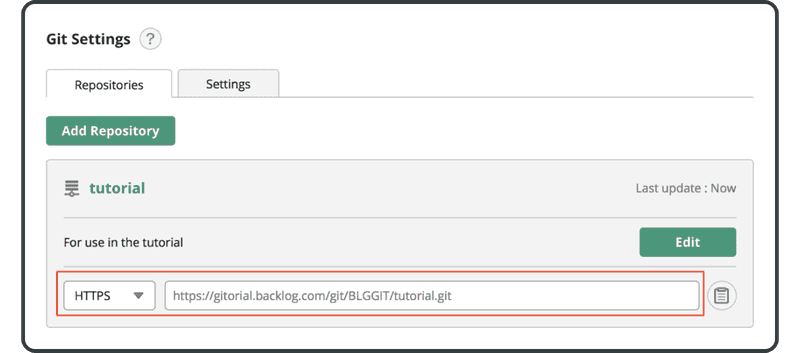
Click “Add.”

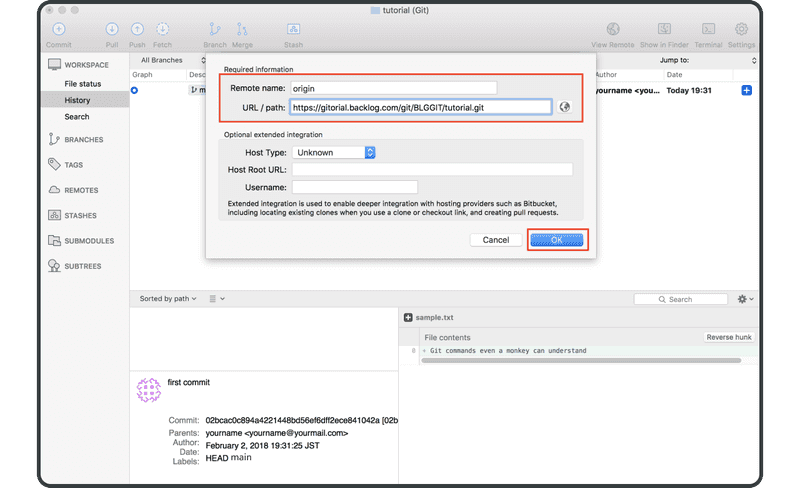
Enter the following:
- Remote name:
origin - URL / path: the URL of the remote repository you previously created in Backlog
Click “OK.”
The remote repository “origin” will now show in the “remotes” list, and we can start pushing changes to Backlog.

If you are on Console, the "origin" remote repository will be used by default if you omit the remote name when pushing/pulling. That is because convention commonly uses "origin" as a remote name.
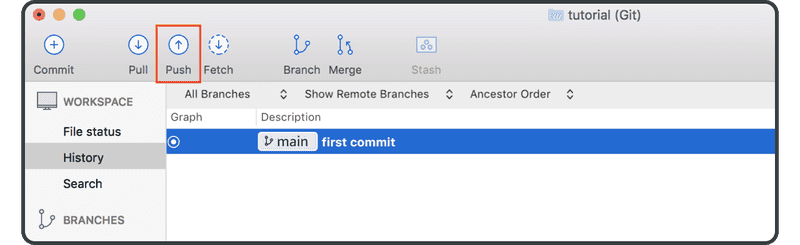
Now click the “Push” icon on the toolbar above.
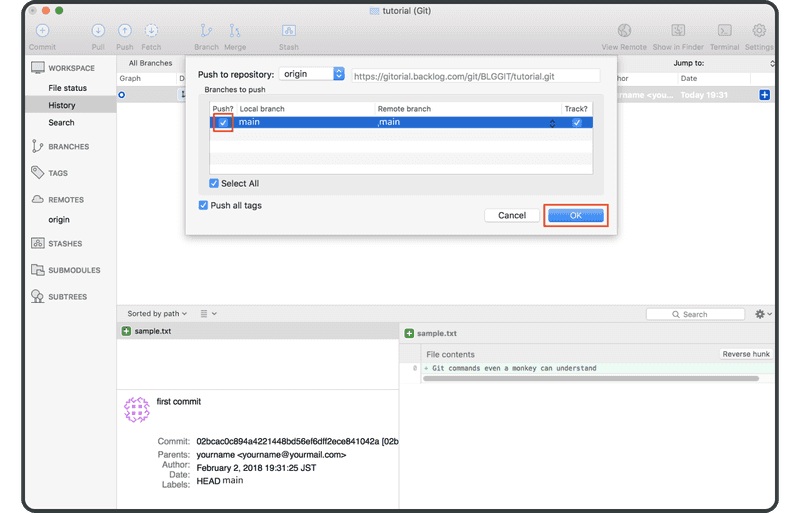
Select the “main” checkbox and click “OK.”
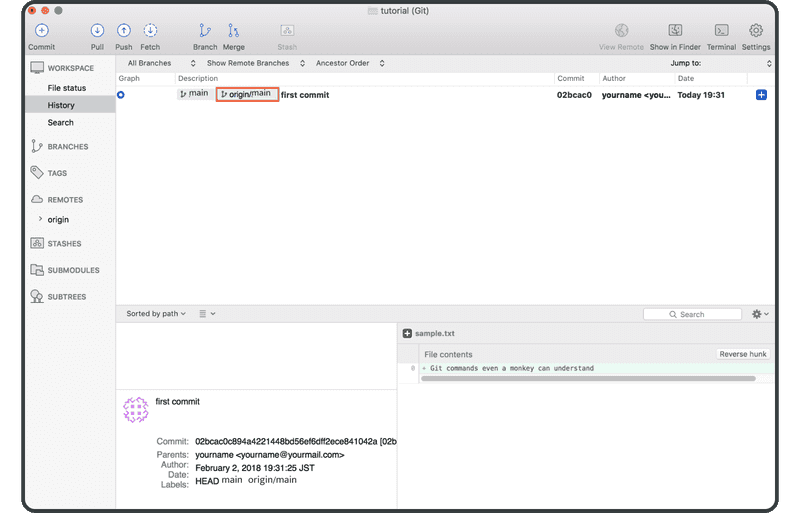
When you have successfully completed the push, “origin/main” — which represents the commit on remote — will be shown in the “description” column of the commit.
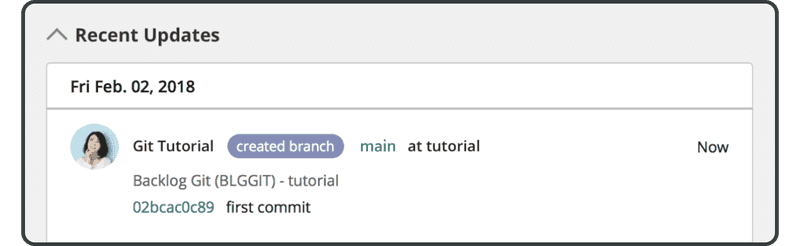
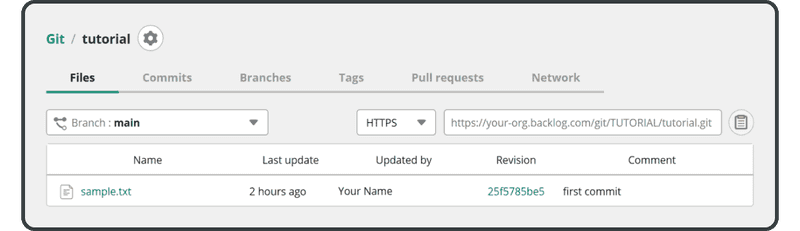
Open the Git page on Backlog, and you will find a new update corresponding to your push to the remote repository listed under “Recent Updates.”
The pushed file will also appear in the list of files in the remote repository.
Next, we’ll clone this remote repository.