Create a remote repository
We will create a remote repository in Backlog the version control software we mentioned at the beginning of this tutorial.
Project Admins can create new Git repositories in Backlog. If you do not have this role, ask your Project Admin to create a repository for you. Alternatively, you can start your own Space and create repositories there.
You can start a free trial
First, log in to Backlog and click “Git” from the project menu in which you want to create a repository. If you do not have a project yet, you will need to create one first.
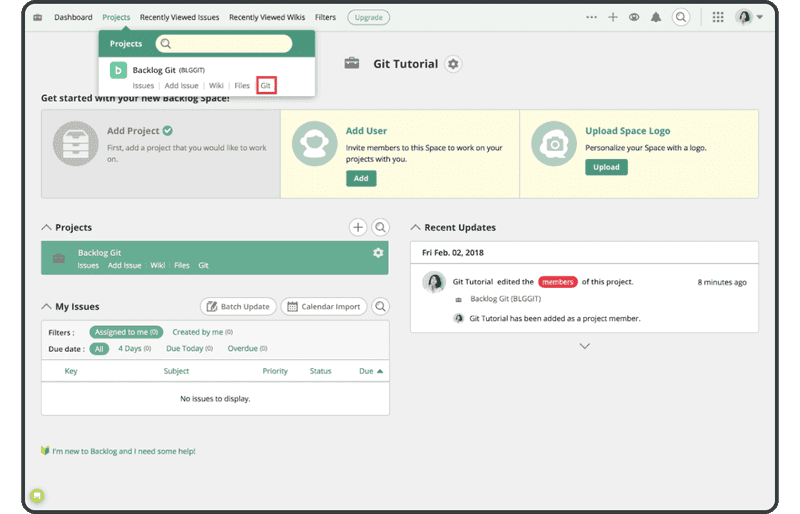
If Git is not displayed as shown above, you will have to enable it by selecting the project, going to “Project Settings” > “General,” and clicking the checkbox labeled “enable Git.”
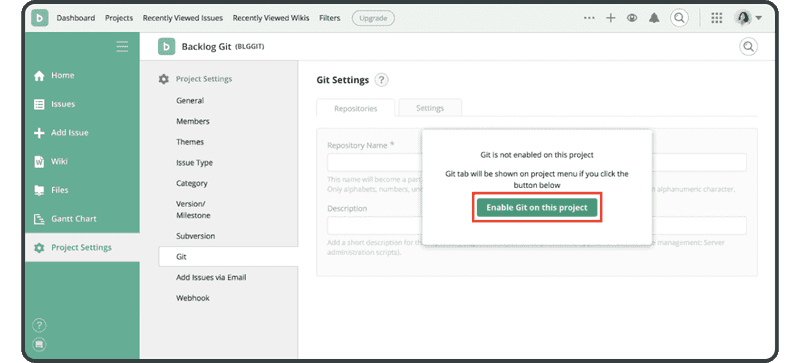
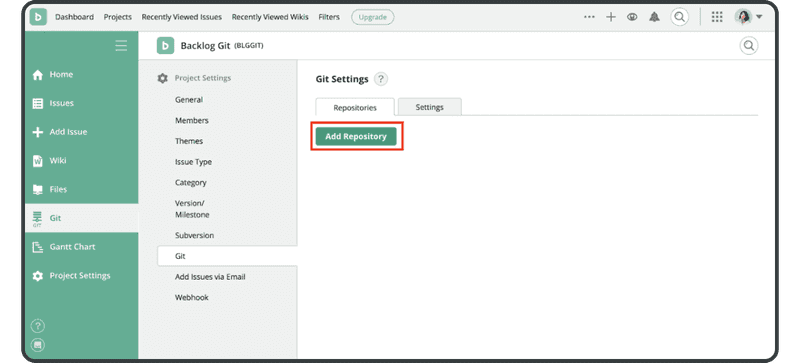
After enabling Git, click “Add Repository” on the same Git screen to add a repository.
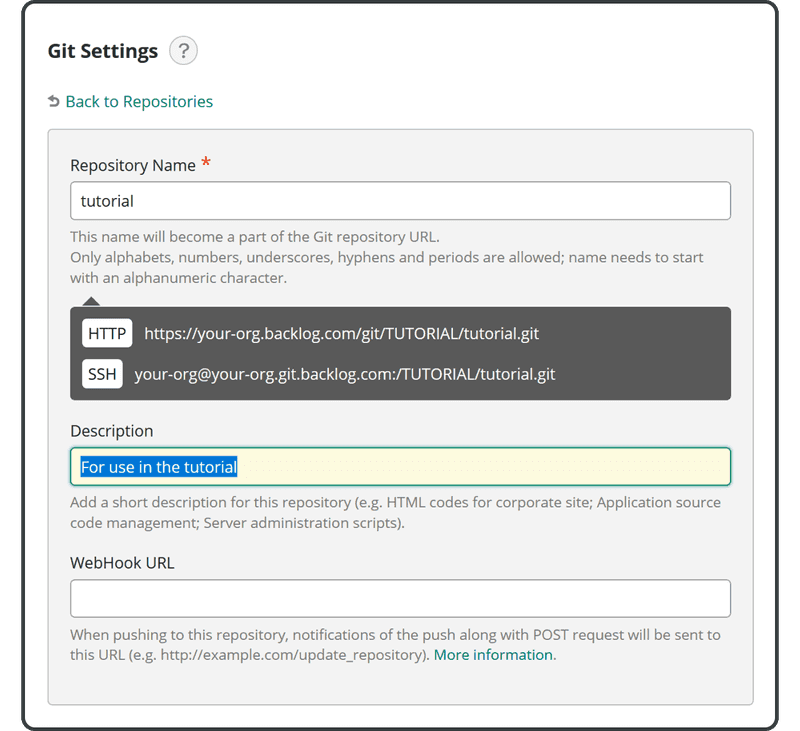
Enter the following name and description, then click the “Create Repository” button:
- Name: “tutorial”
- Description: “For use in the tutorial”
You’ll see the panel below when you’ve successfully added your new repository.
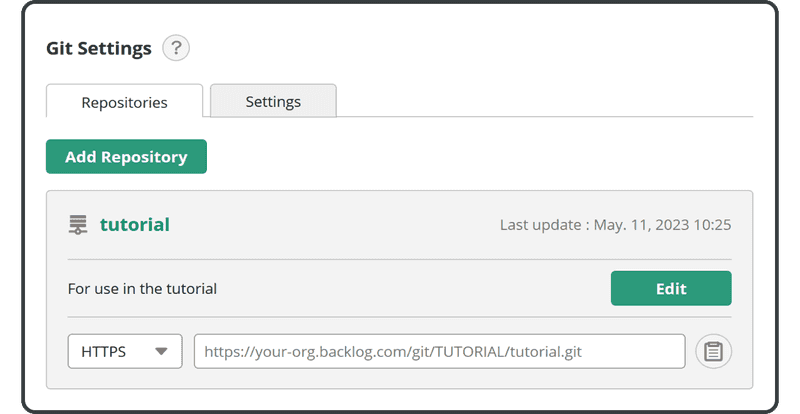
Now you can begin pushing changes to this remote repository.