풀링 요청 만들기
Backlog에 있는 프로젝트의 Git 페이지에서 대상 저장소를 선택합니다.
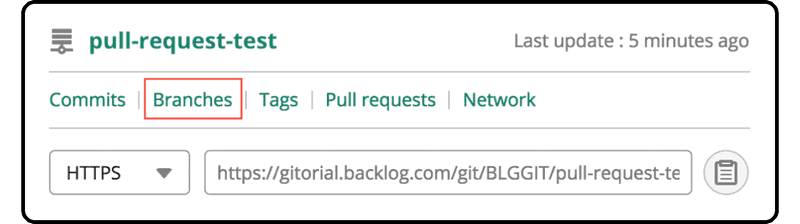
그런 다음 Branches 탭으로 이동하여 방금 만든 "add-sort-func" 브랜치를 찾습니다.
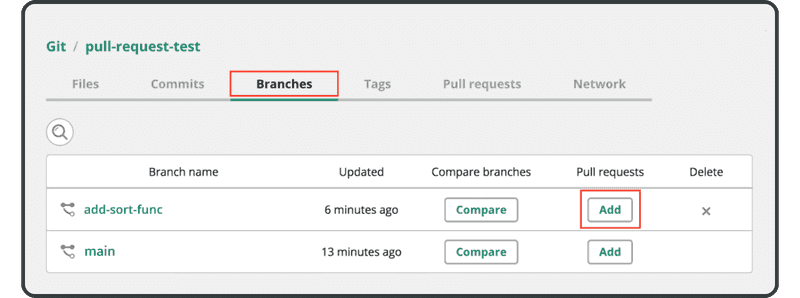
풀링 요청 열에서 "Add"를 클릭하면 다음 화면이 표시됩니다.
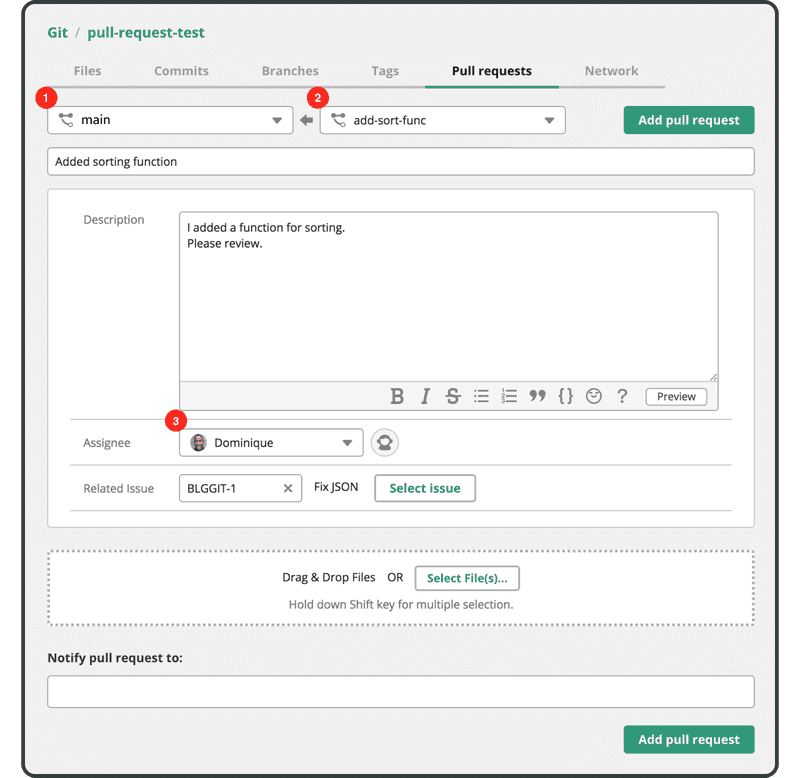
다음 필드가 채워지고 올바른지 확인하십시오.
- 대상 브랜치: 풀링 요청을 병합할 대상 브랜치(즉, main)
- 풀링 요청 브랜치: 병합할 브랜치(즉, add-sort-func)
- 담당자: 풀링 요청 검토 및 병합 담당자
그런 다음 "Add pull request" 버튼을 클릭합니다. "Notify pull request to" 필드에 추가한 담당자 및 모든 사용자에게 알림이 전송됩니다.
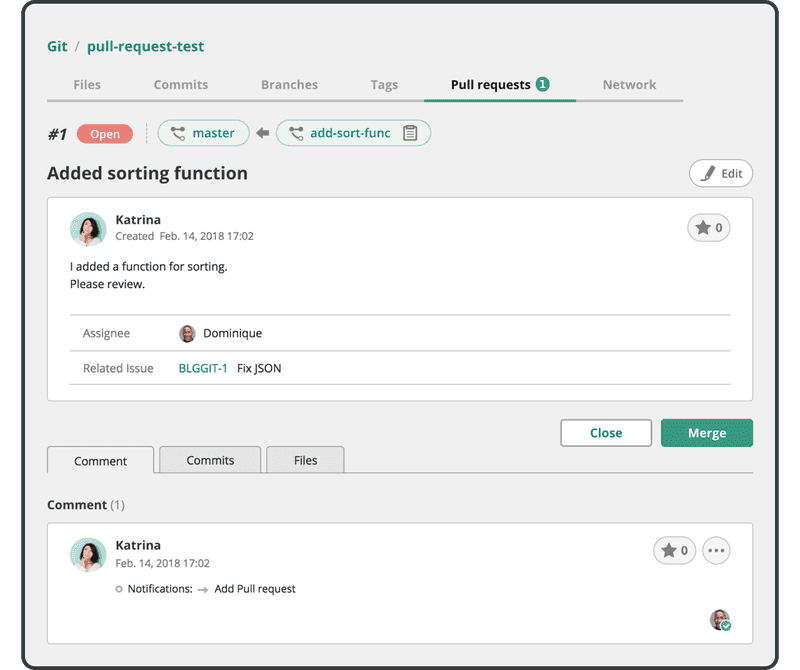
요청을 확인할 수 있도록 다음 화면이 표시됩니다.