Transférer vers un référentiel distant
Effectuons un transfert vers le référentiel local que vous avez créé au début de ce didacticiel.
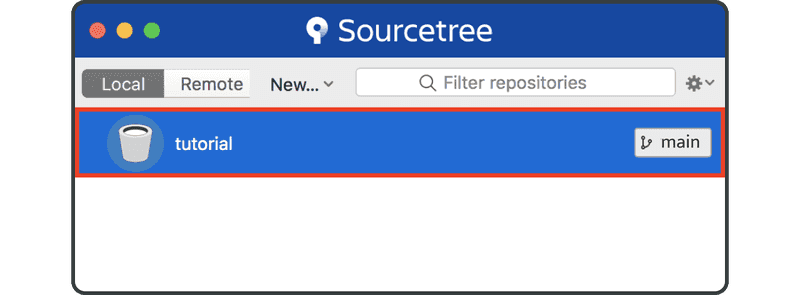
Ouvrez Sourcetree et double-cliquez sur le référentiel « tutorial ».
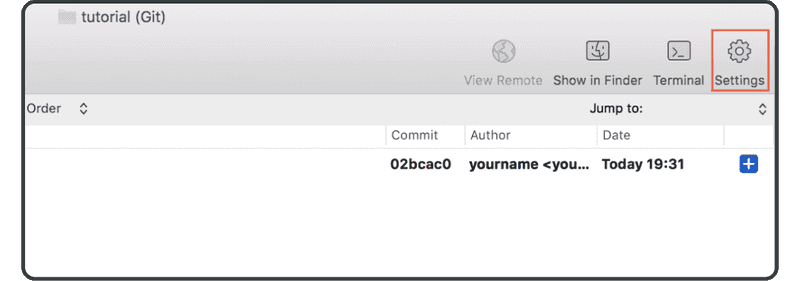
Cliquez sur le bouton « Settings » sur le côté droit de la barre d'outils.
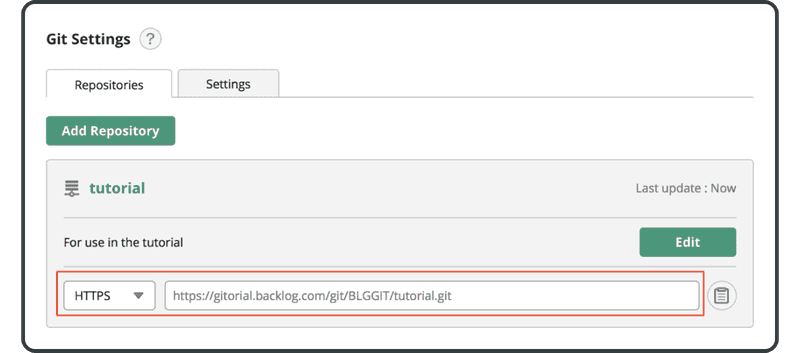
Cliquez sur « Add. »

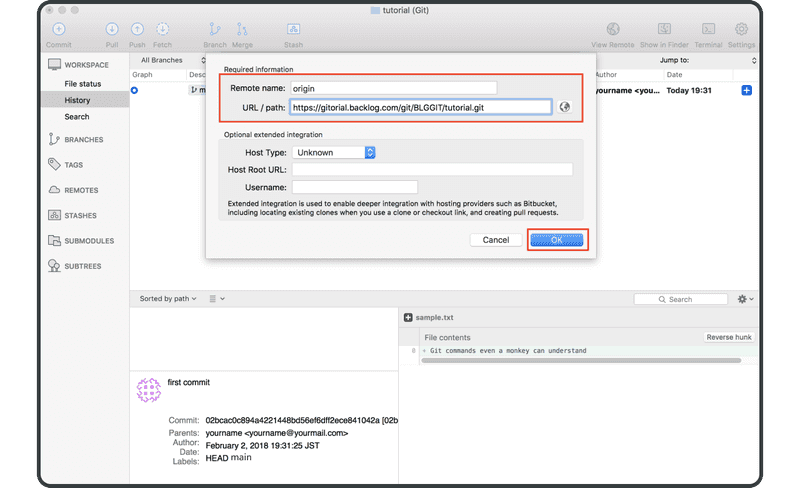
Saisissez les informations suivantes:
- Nom du référentiel distant:
origin - URL / chemin: l'URL du référentiel distant que vous avez précédemment créé dans Backlog
Cliquez sur « OK. »
L'« origin » du référentiel distant s'affiche désormais dans la liste « remotes ». Nous pouvons commencer à transférer des modifications vers Backlog.

Si vous êtes sur console, le référentiel distant « origin » est utilisé par défaut si vous omettez le nom distant lors des opérations push/pull. En effet, par convention, on utilise généralement "origin" comme nom distant.
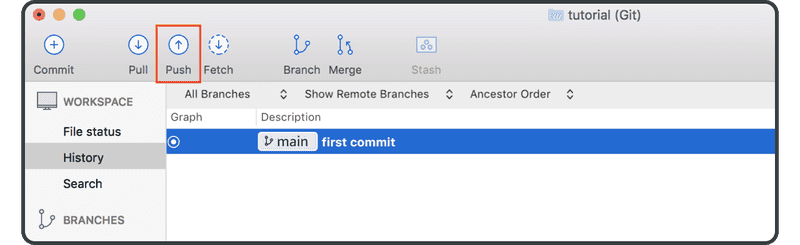
Cliquez à présent sur l'icône « Push » dans la barre d'outils ci-dessus.
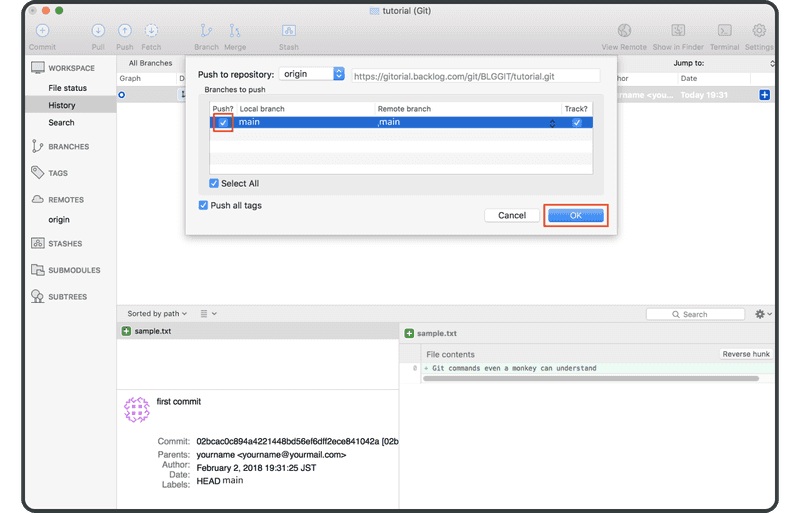
Cochez la case « main » et cliquez sur « OK. »
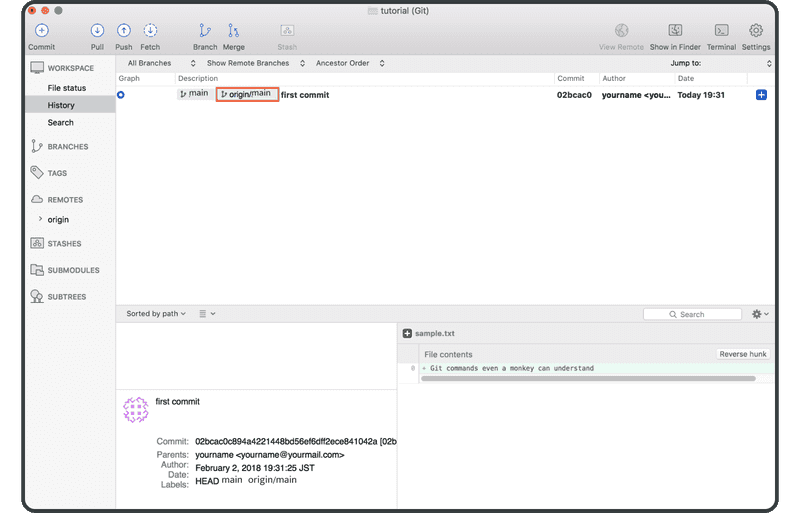
Si le transfert réussit, « origin/main » (qui représente le commit sur le référentiel distant) s'affiche dans la colonne « description » du commit.
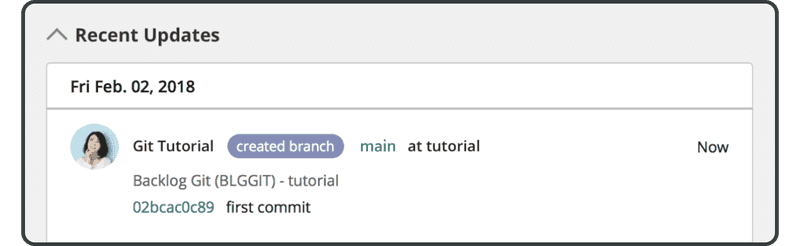
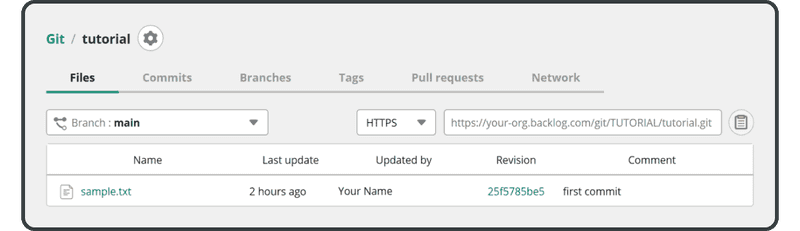
Ouvrez la page Git sur Backlog. Une nouvelle mise à jour correspondant à votre transfert vers le référentiel distant est répertoriée sous « Recent Updates. »
Le fichier transféré apparaît également dans la liste des fichiers du référentiel distant.
Nous allons ensuite cloner ce référentiel distant.