Créer un conflit
Lorsqu'un conflit survient, vous devez le résoudre pour terminer votre travail. Dans cette étape, nous allons délibérément créer un conflit à partir de nos deux référentiels existants « tutorial » et « tutorial2 ».
Ouvrez tout d'abord le fichier sample.txt dans le répertoire tutorial de votre ordinateur.
Ajoutez le texte en gras ci-dessous au fichier et validez.
Anyone can learn Git with this tutorial and Backlog
add: Register a change in an index
commit: Save the status of an index

Ouvrez ensuite le fichier sample.txt dans le répertoire tutorial2. Ajoutez le texte en gras ci-dessous au fichier et validez.
Anyone can learn Git with this tutorial and Backlog
add: Register a change in an index
pull: Obtain the content of the remote repository
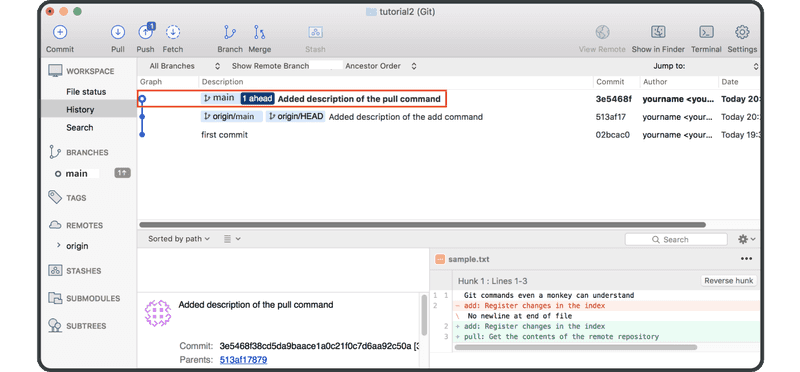
Transférez à présent la modification apportée dans tutorial2 vers le référentiel distant.
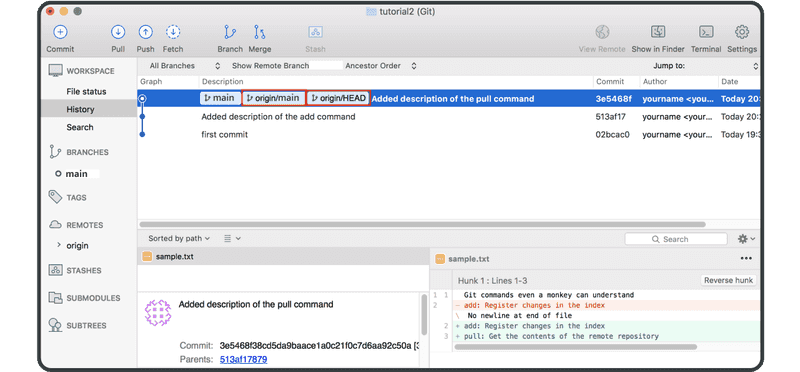
Dans notre référentiel distant actif, le fichier sample.txt contient la troisième ligne pull: Obtain the content of the remote repository et il a été validé dans le journal historique.
Nous allons ensuite transférer le commit de notre référentiel tutorial vers le référentiel distant.
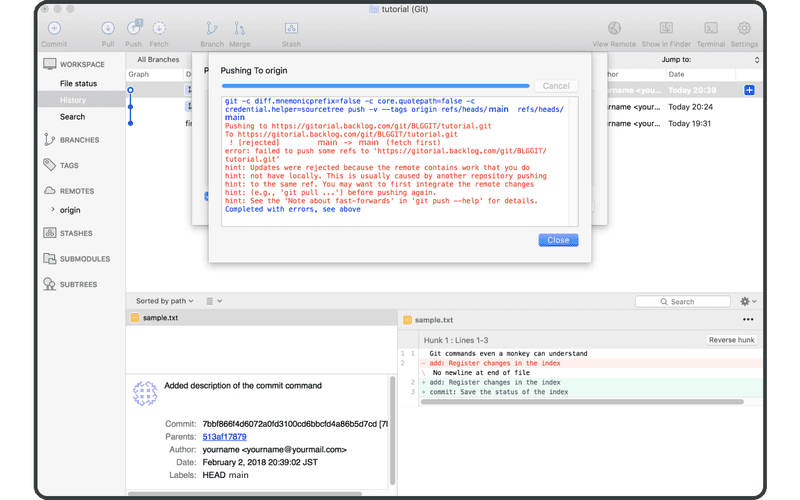
Comme vous pouvez le constater, Git génère un conflit et rejette votre transfert.