Subir a un repositorio remoto
Vamos a subir al repositorio local que creó al principio de este tutorial.
Abra Sourcetree y haga doble clic en el repositorio "tutorial".
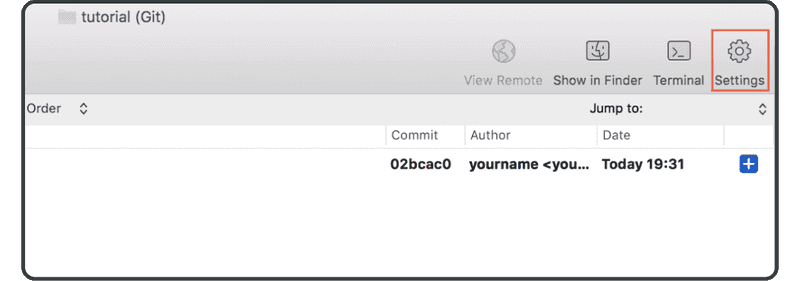
Haga clic en el botón "Settings" situado a la derecha de la barra de herramientas.
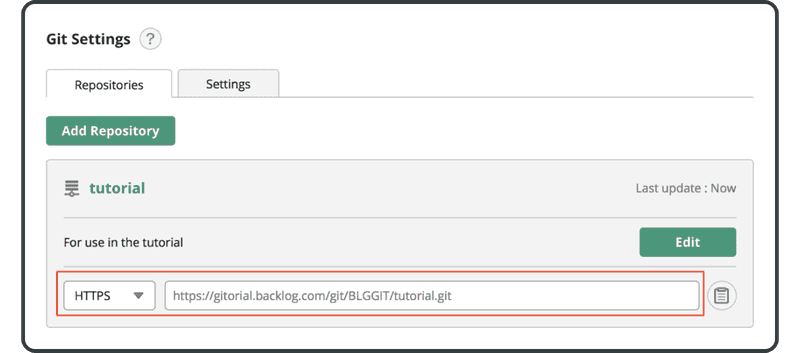
Haga clic en "Add".

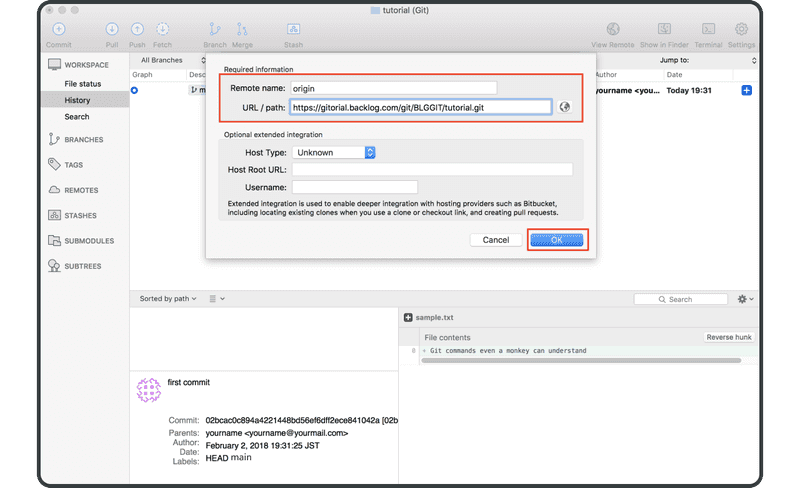
Introduzca lo siguiente:
- Nombre remoto:
origin. - URL/ ruta: la URL del repositorio remoto que creó previamente en Backlog
Haga clic en "OK".
El repositorio remoto "origin" aparecerá ahora en la lista de "remotes" y podemos empezar a enviar cambios a Backlog.

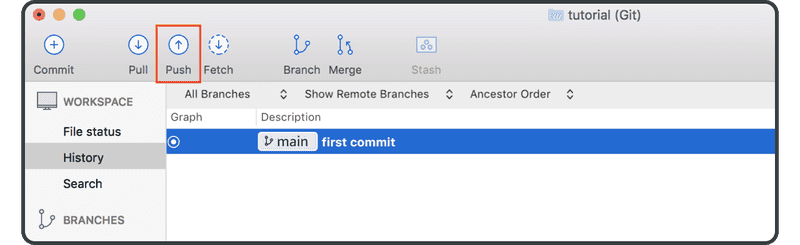
Ahora haga clic en el icono "Push" de la barra de herramientas superior.
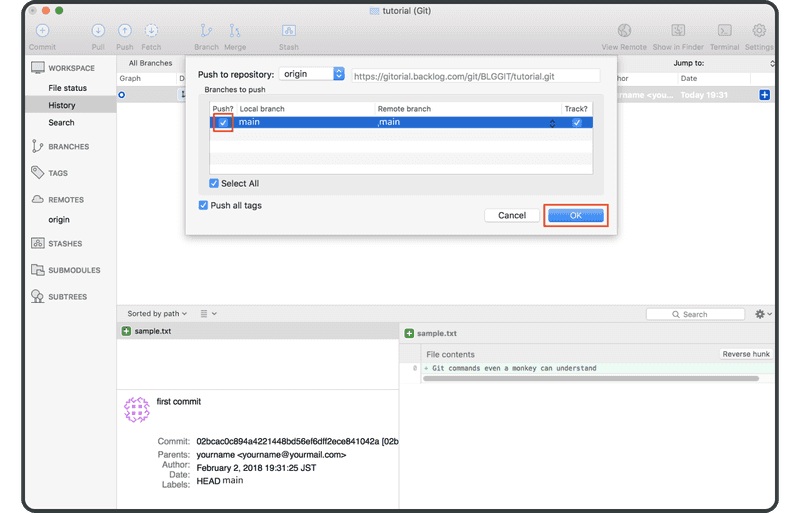
Selecciona la casilla "main" y haz clic en "OK".
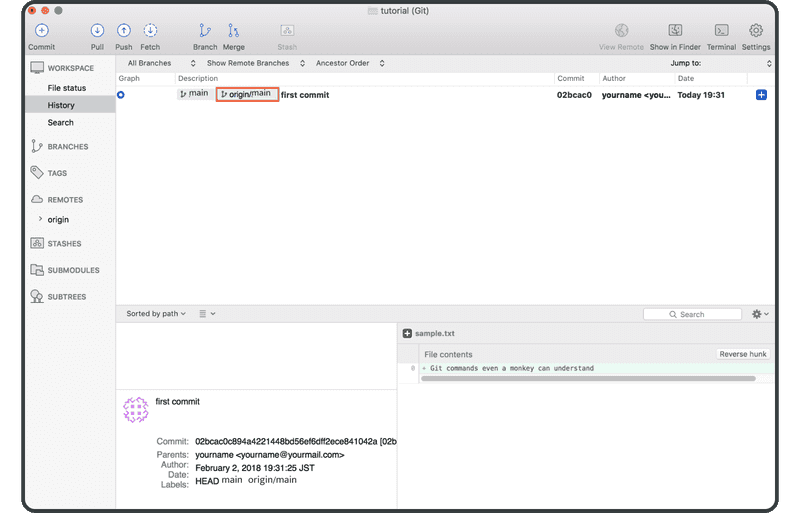
Cuando haya completado con éxito el push, "origin/main" — que representa el commit en remoto — se mostrará en la columna "description" del commit.
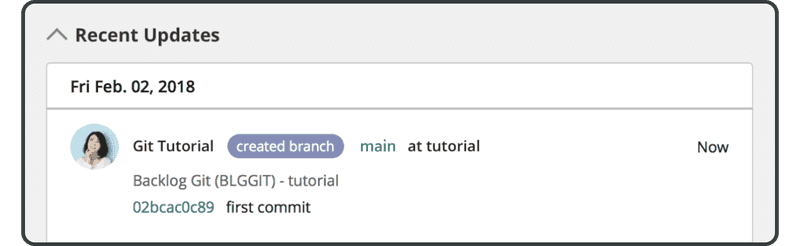
Abra la página Git en Backlog, y encontrará una nueva actualización correspondiente a su push al repositorio remoto listada en "Recent Updates".
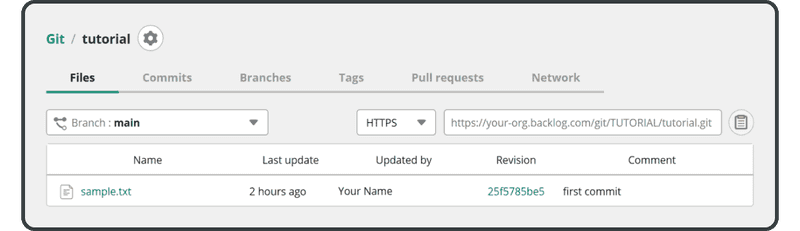
El archivo transferido también aparecerá en la lista de archivos del repositorio remoto.
A continuación, clonaremos este repositorio remoto.