Crear un conflicto
Cuando surja un conflicto, tendrá que resolverlo para completar su trabajo. En este paso, vamos a crear deliberadamente un conflicto utilizando nuestros dos repositorios existentes, “tutorial” y “tutorial2”.
En primer lugar, abra el archivo sample.txt del directorio tutorial en su equipo. Añada el texto en negrita al archivo y confírmelo.
Anyone can learn Git with this tutorial and Backlog
add: Register a change in an index
commit: Save the status of an index

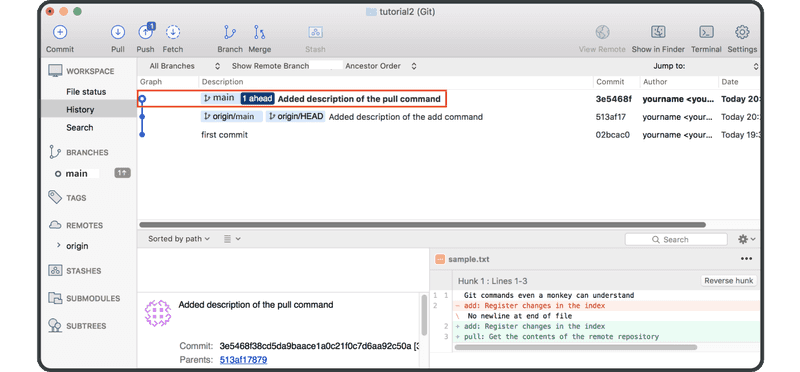
Después, abra el archivo sample.txt del directorio tutorial2. Añada el texto en negrita al archivo y confírmelo.
Anyone can learn Git with this tutorial and Backlog
add: Register a change in an index
pull: Obtain the content of the remote repository
Ahora suba el cambio de tutorial2 al repositorio remoto.
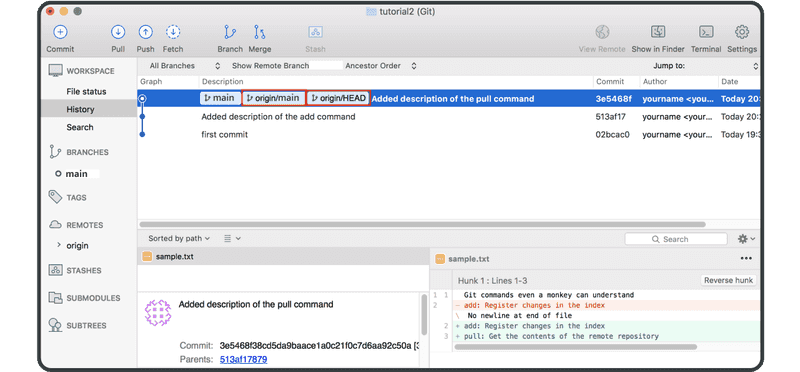
En nuestro repositorio remoto actual, el archivo sample.txt contiene la tercera línea pull: Obtain the content of the remote repository y se ha consignado en el registro del historial.
A continuación, enviaremos el commit de nuestro repositorio tutorial al repositorio remoto.
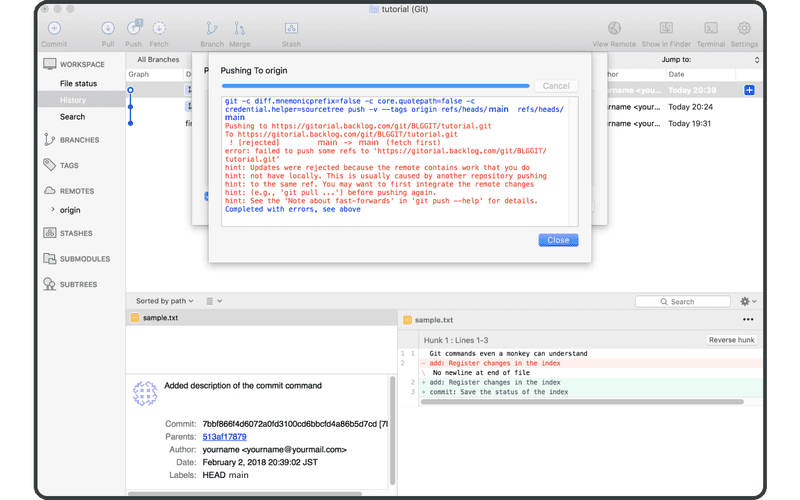
Como puede ver, Git plantea un conflicto y rechaza su push.